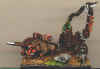
Some Tips
1. Try and get some alternative sized
sand mixed in with your fine sand, this will give that little bit of
extra 'texture' so the base is not so flat. (In my first picture you can
see the blue/grey bits, I can not remember what it is called but you
find it in Model Railway shops)
2. Spray your figs first, then do your
sanding, I found if I sprayed the sand black first then it was harder to
get a bright finish on the base.
3. When putting the glue on, wipe any
excess which goes on the edges of the base to avoid getting sand on them
and clean any which does. This does not matter in 25mm terms and can
look good, but in warmaster, the bases have to be flush with each other
therefore if you have sand on the edges of the bases (making an uneven
edge) very soon your brigade of 12 bases will all be crooked (a minor
thing, but it make a difference).
4. Use washes, if you have the time I
painted my orcs Gobblin Green, washed with green glaze (this toned it
down and gave dark green shading) then highlighted with Goblin Green
mixed with white.
5. Pick a feature of the figures which
will stand out and spend some time on it, with the Orcs, they are
showing their fangs, a pain to paint, but makes the figures stand
out if done.
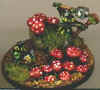
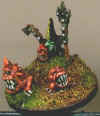
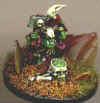
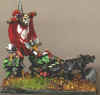
Heros
The guys at Games Workshop have spent
time providing various Heros and wizards, as well as other 'extras'
which have no effect on game play but look cool (how about the dwarfs
with the jester and bear) You should let your imagination go wild here,
a chance to do a mini vignette, this is your chance to be creative,
spend twice a long on your heros, mount them on interesting bases, round
bases have a good effect, 1p & 2p.
Add a bit of height to the base, you can
imagine the hero trying to get a better height advantage so he can see,
command his troop better. Go into the garden get some small
pebbles, look for interesting shapes and colours.